Best Wooden Garden Bridge Plans
A wooden garden bridge can add a charming and functional element to your garden, providing a crossing over a stream, pond, or other water feature. Here are some steps to build a wooden garden bridge:
Choose a location for your bridge – determine the length, width, and height of the bridge you will need based on the location in your garden.Select your wood – choose a type of wood that is suitable for outdoor use and can withstand moisture and weathering. Cedar, redwood, and pressure-treated lumber are all good options.Draw up a design – you can use pre-made plans or create your own design. Consider the style of your garden and how the bridge will fit into the overall aesthetic.Cut your lumber to size – use a circular saw or handsaw to cut your lumber to the proper length and width for your design.Assemble the frame – using galvanized screws, attach the crossbeams and support posts to create the frame of the bridge.Install the decking – attach the decking boards to the frame using screws, spacing them evenly and leaving gaps to allow for drainage.Add railings – if desired, attach railings to the sides of the bridge using screws. This will provide safety and aesthetic appeal.
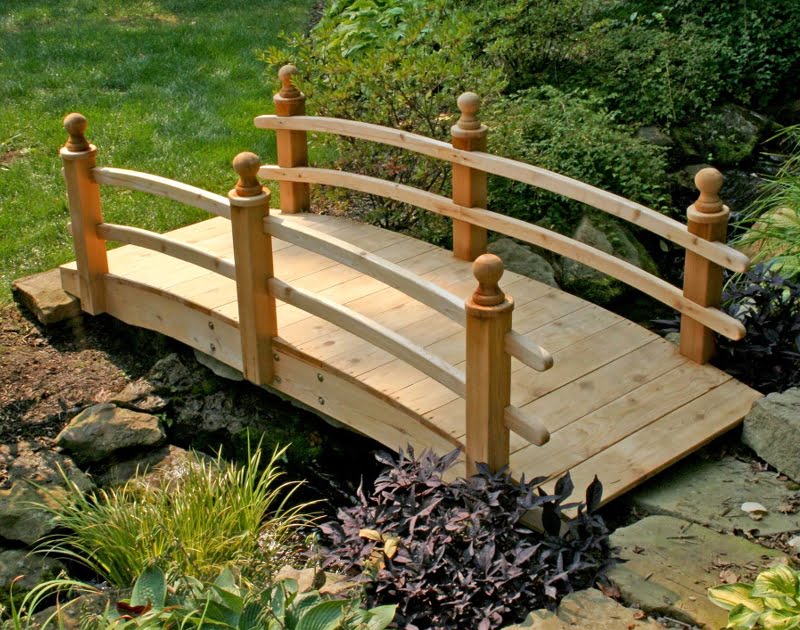


Elevate your garden’s aesthetic with the timeless elegance of the best wooden garden bridge. Crafted with precision and care, this enchanting structure adds a touch of sophistication and charm to any outdoor space. Its natural wood construction seamlessly integrates with the surrounding landscape, creating a visual masterpiece that beckons you to explore and wander.


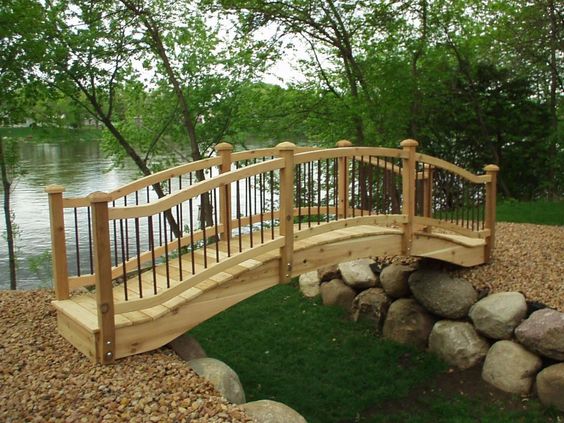
Imagine strolling over the gracefully arched bridge, the wood’s warm tones contrasting beautifully against the vibrant greens of your garden. Whether crossing over a babbling brook or a serene pond, the bridge becomes a captivating focal point that enhances the overall ambiance. Its sturdy construction ensures not only a functional crossing but also a picturesque vista that captures the imagination.


Adorned with climbing vines, potted plants, or even subtle solar lights, the best wooden garden bridge transforms into a mesmerizing pathway that leads to moments of reflection and tranquility. The bridge’s design encourages you to pause, enjoy the surrounding beauty, and immerse yourself in the sights and sounds of nature.


A testament to both craftsmanship and aesthetic appeal, the best wooden garden bridge bridges the gap between utility and artistry. With each step taken, it evokes a sense of wonder, inviting you to create your own story as you journey across its inviting expanse. In your garden, it’s more than just a structure; it’s a connection between the elements, a symbol of timelessness, and a visual delight that enriches the outdoor experience.